How to Connect OBD Fusion to OBDCheck BLE & OBDCheck BLE+ on iOS
This guide provides step-by-step instructions for connecting your VEEPEAK OBD II Scanner with the OBD Fusion app on your iPhone or iPad. The process involves downloading the paid OBD Fusion app and proceeding through its initial setup wizard. A crucial step is to select "Bluetooth LE" as the communication type and initiate the connection directly within the app, rather than pairing the device in your iOS device's main Bluetooth settings. By following these steps carefully, you will grant the necessary permissions and establish a successful connection to begin diagnosing your vehicle.

Step 1: Plug In Device & Prepare Bluetooth
Plug in the device and turn on the car ignition. Go to your iOS device's Bluetooth settings and check if "VEEPEAK" appears. Do not connect to it here. Please see the notes below:
- Note: This device uses Bluetooth LE for iOS devices. Please do not pair with "VEEPEAK" in the iOS Bluetooth settings. You will connect to it directly within the app by following the upcoming instructions.
- Tip 1: If you accidentally tap on "VEEPEAK" in the Bluetooth settings, it may lead to an "unsupported device" error, and "VEEPEAK" will disappear from the list. To resolve this, restart your iOS device, and it will show up again. You can then proceed to the next step.
- Tip 2: We have recently noticed that for a few batches, when trying to connect with "VEEPEAK" from the iOS Bluetooth settings, a PIN will pop up. The device will connect and then become “not connected” shortly after the PIN is entered. Don’t worry; you can ignore the device status here and just launch the App to connect. (This issue has been fixed for current and future batches).

Step 2: Download the Correct App
Search for "OBD Fusion" in the App Store and download it.
Note:
- This is a paid app. The fee is charged by the OBD Fusion developer and is not related to Veepeak.
- Search results may contain ads. Please be sure to download the correct app as identified in the picture.
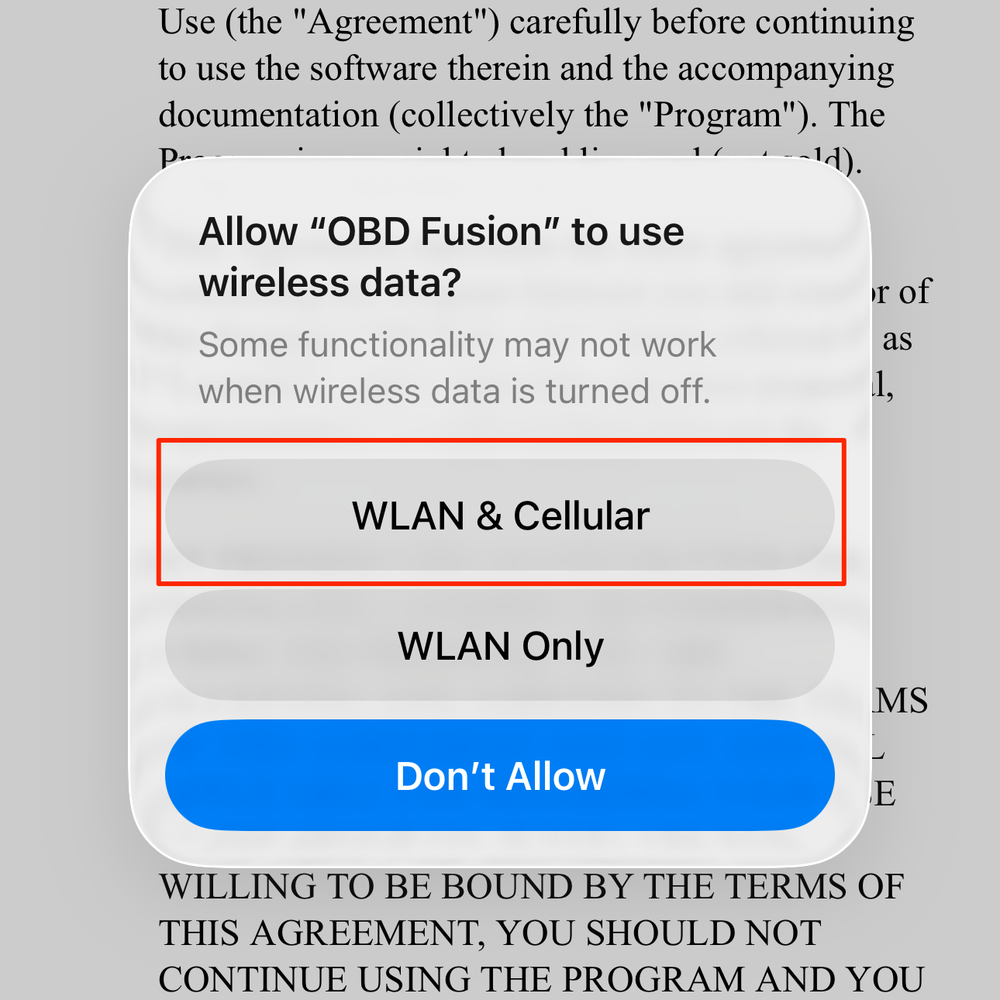
Step 3: Grant Wireless Data Permission
When you run the app for the first time, iOS will prompt you for permission to use wireless data. Please authorize the app to use "WLAN & Cellular".
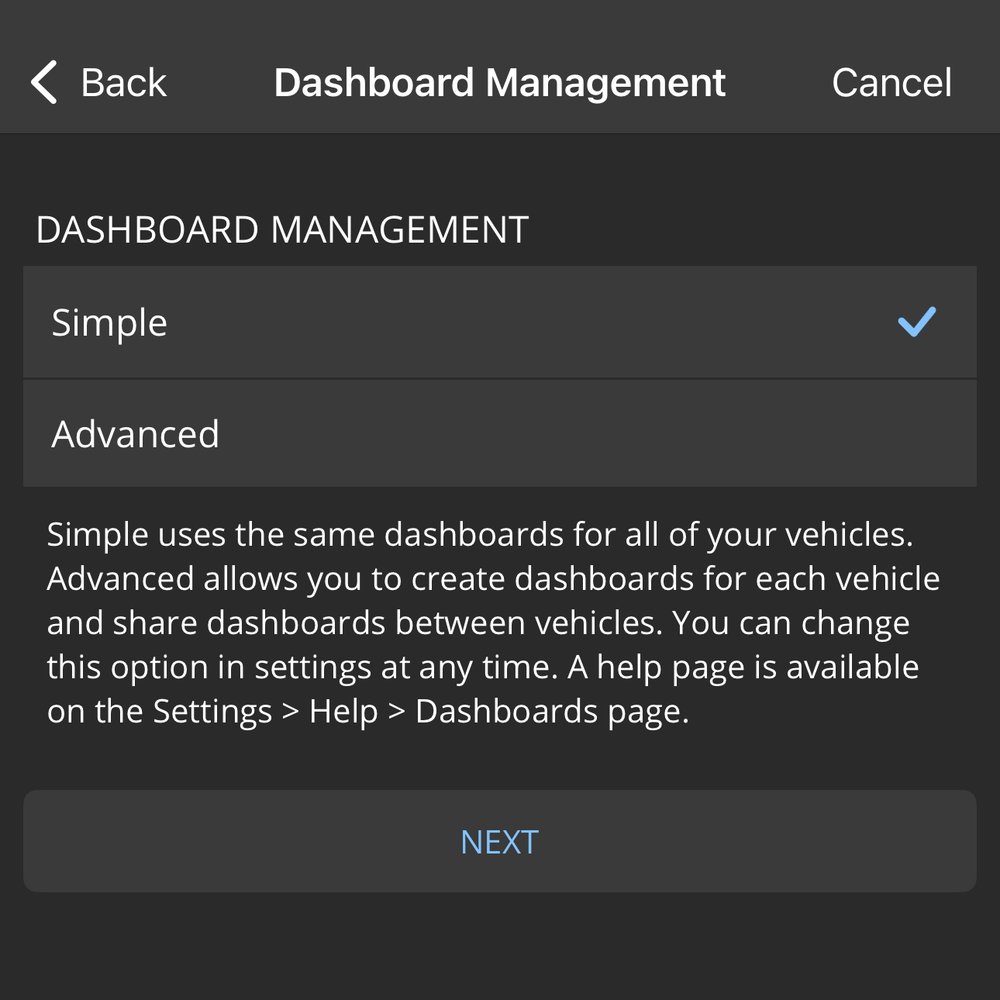
Step 4: Initial App Configuration
Proceed through the app's terms of service and select your preferred Unit System according to your needs until you reach the "Dashboard Management" option. If you are proficient with the app and require more customization, you can choose "Advanced"; otherwise, please select "Simple". Then continue.
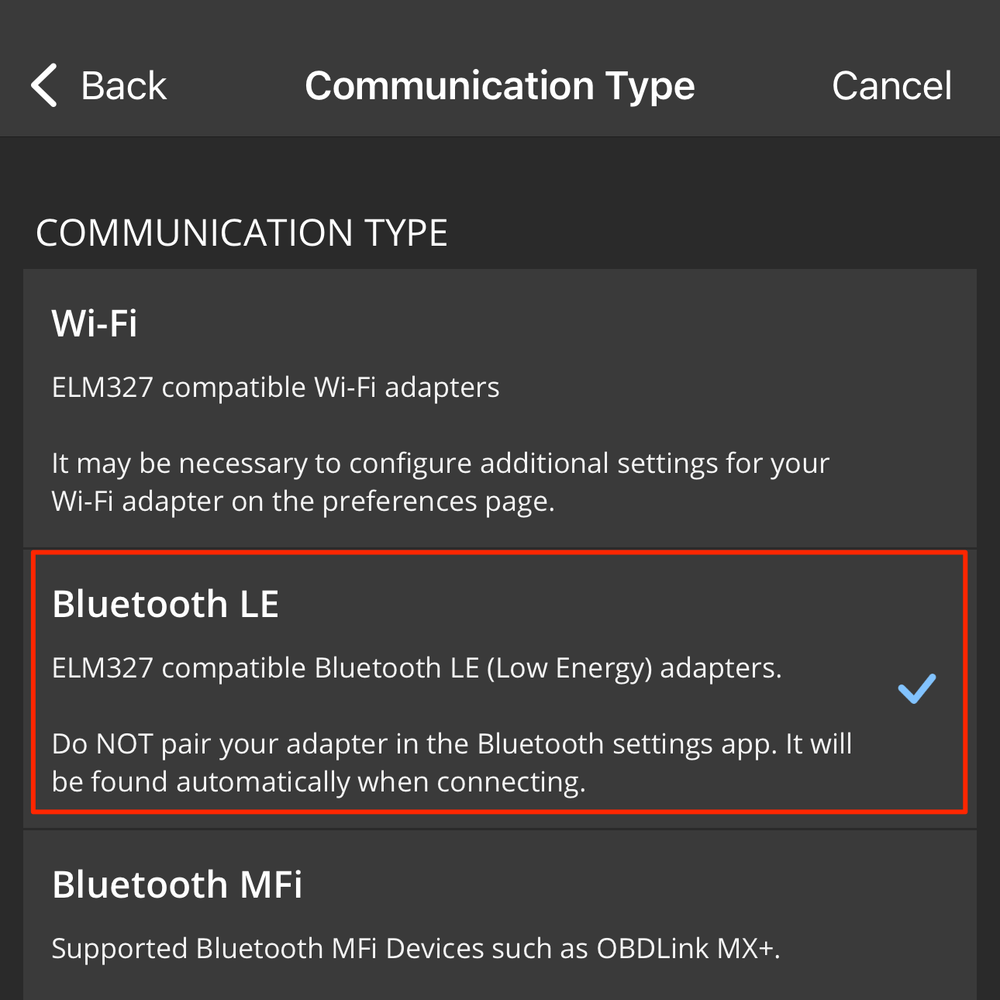
Step 5: Set Communication Type
Next is the "Communication Type" setting. Please select "Bluetooth LE" and continue.
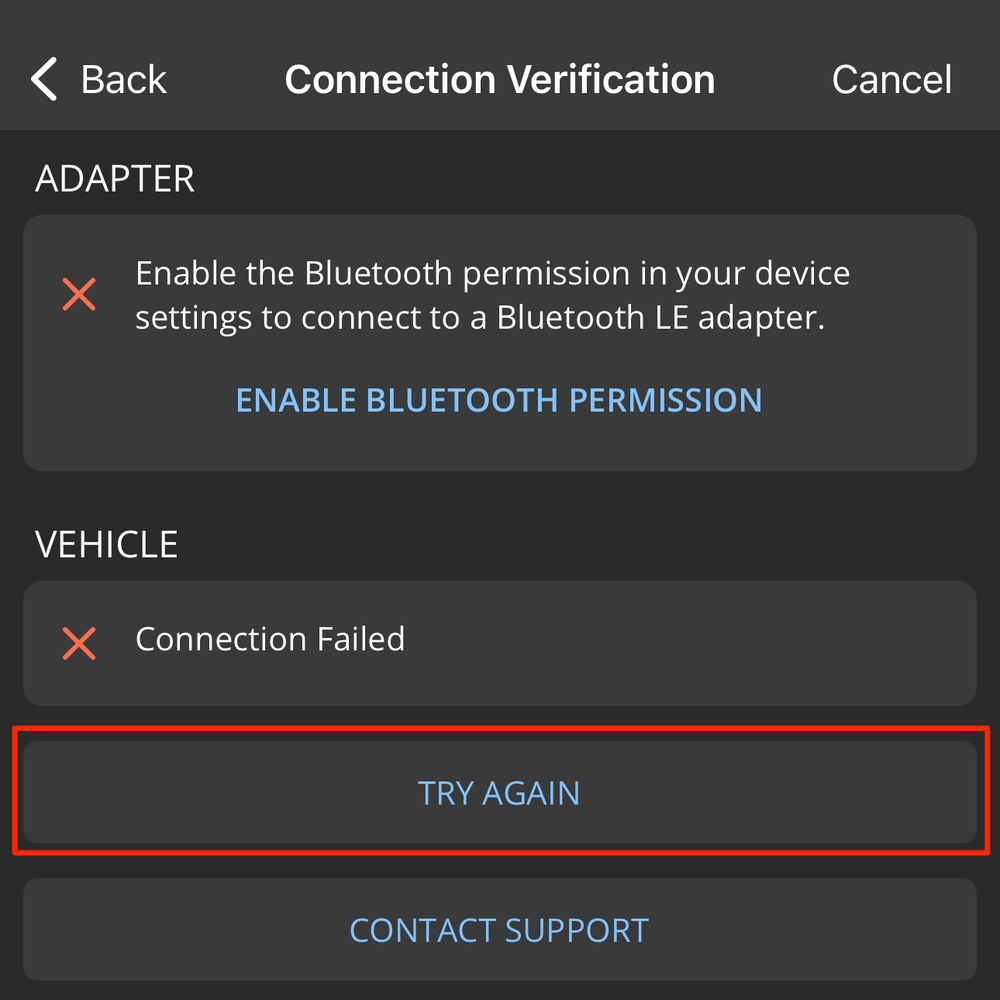
Step 6: Grant Permissions and Connect
You will then see a request for location access permission; please configure this according to your preference. When you reach the "Connection Verification" page, tap "Connect" at the bottom. The app will then request Bluetooth permission. You must select "Allow," otherwise you will not be able to use our product properly. After granting permission, you will likely see a message indicating that the Adapter and Vehicle connection failed, as shown in the picture. Do not worry. Tap "Try Again" at the bottom to reconnect. After a short wait, you will see a successful connection prompt. Tap "Done".
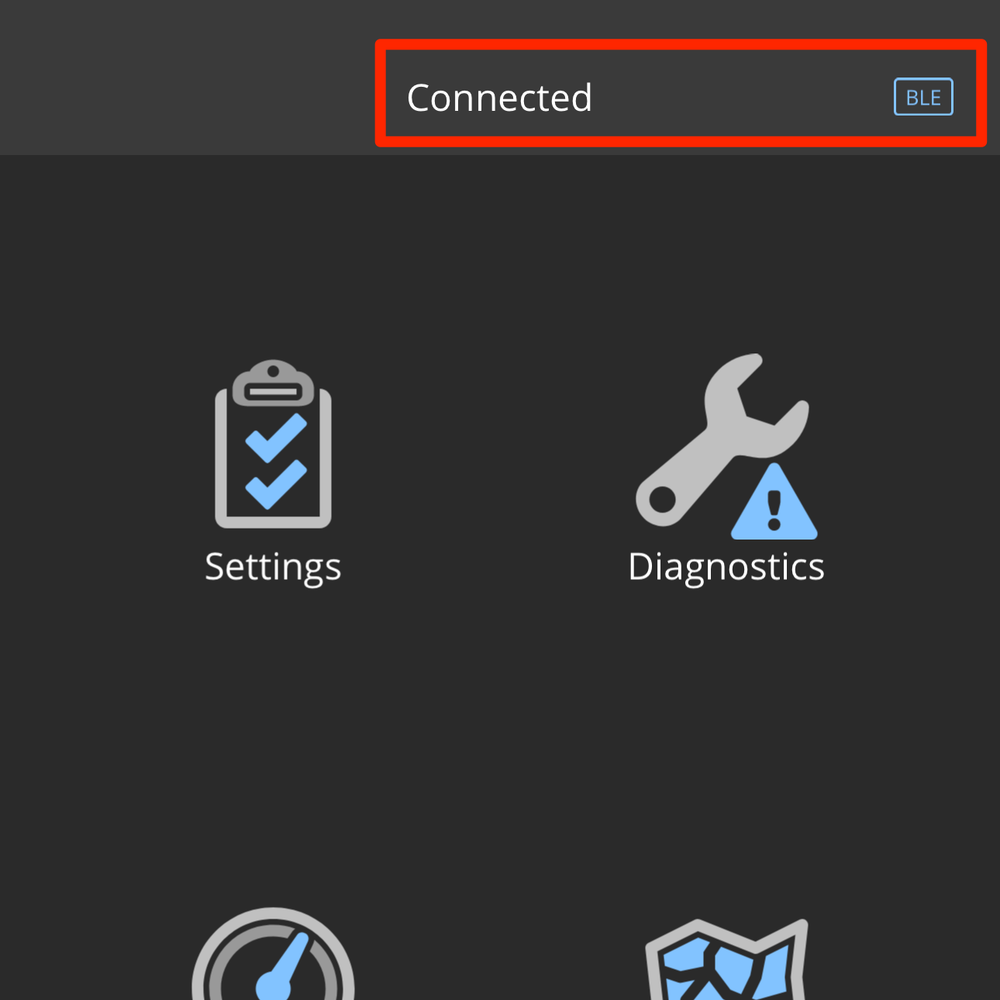
Step 7: Finalize Connection and Add Vehicle
The app will navigate to the home screen and start connecting. Once the connection is successful, the app will ask if you want to edit your vehicle information. Tap "Yes," fill in your vehicle details, and you can then use the app normally.
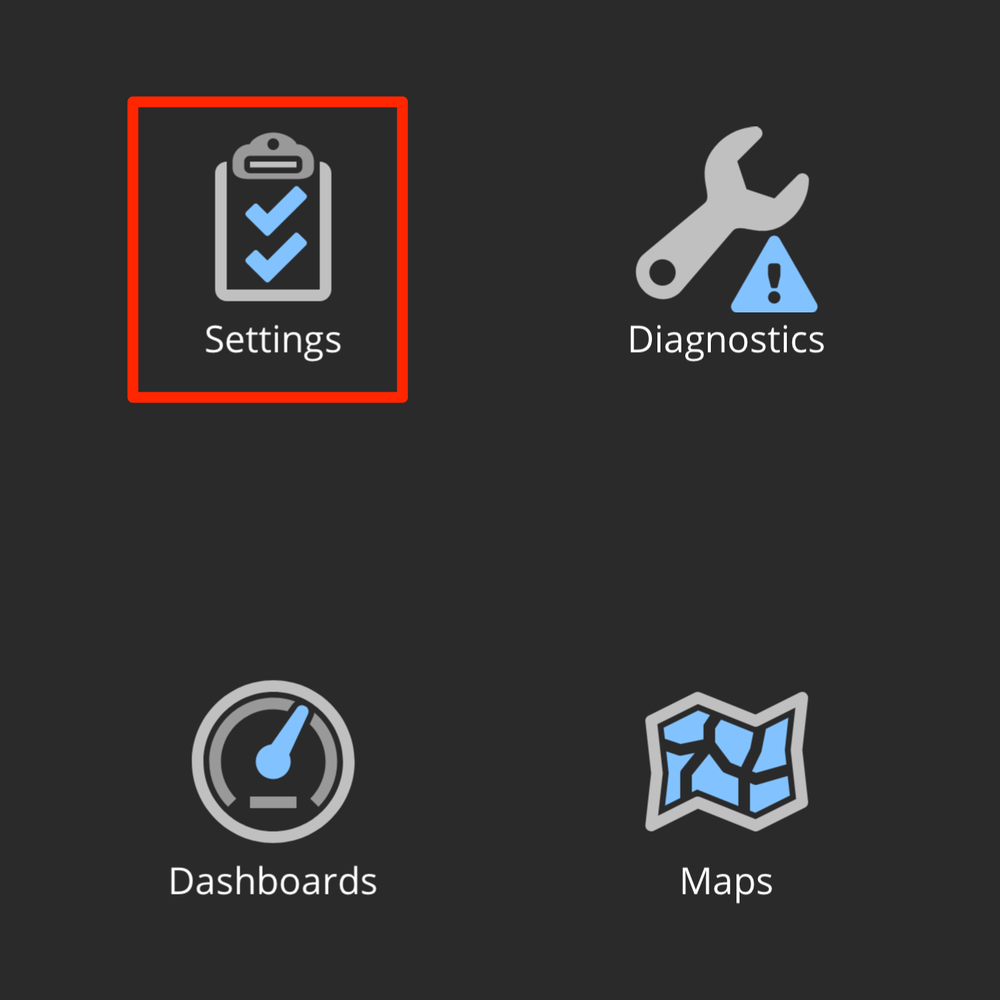
Step 8: Accessing Settings Manually
If you skipped the initial app setup, you can still configure or modify the settings. Please go to "Settings" from the home screen.
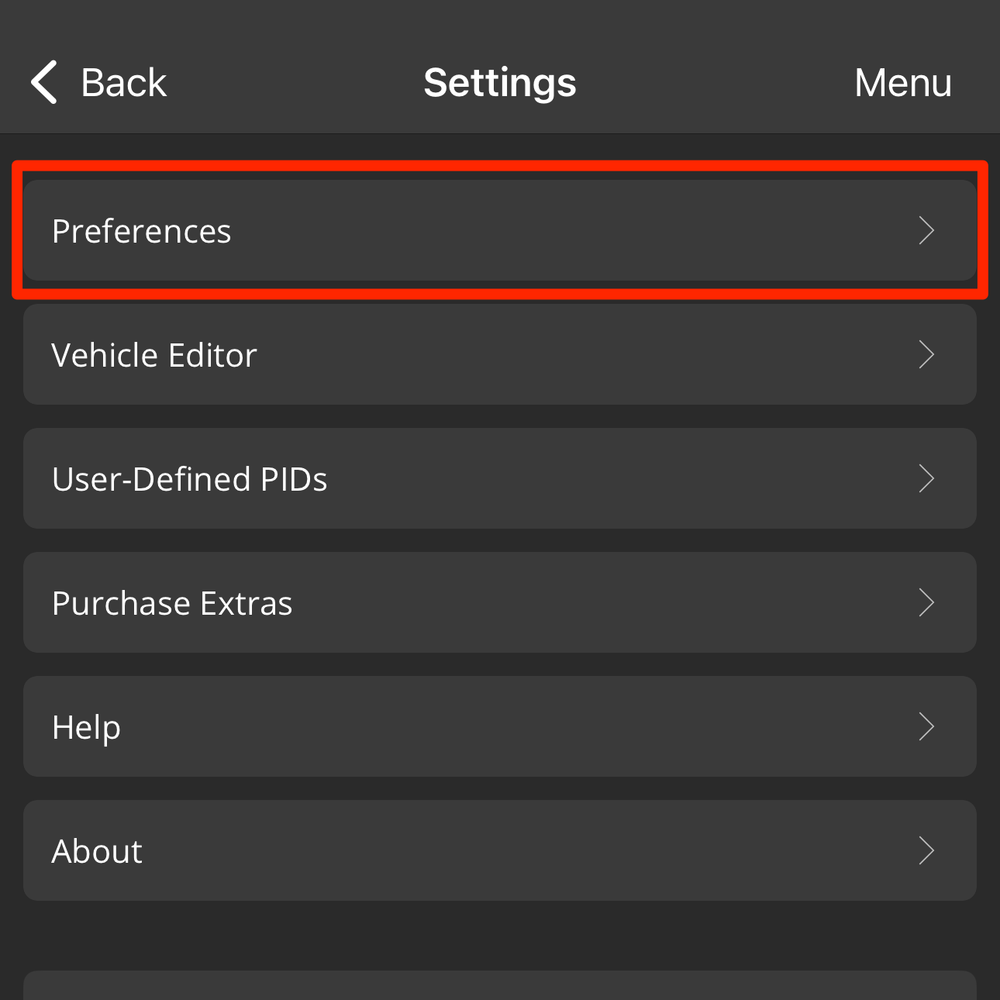
Step 9: Manually Setting Communication Type
From the home screen, go to "Settings" > "Preferences" > "Communications." Under "Connection Settings," set the "Communication Type" to "Bluetooth LE." After this is configured, return to the home screen and tap "Connect" at the bottom. Once the connection is successful, you can use the app normally.
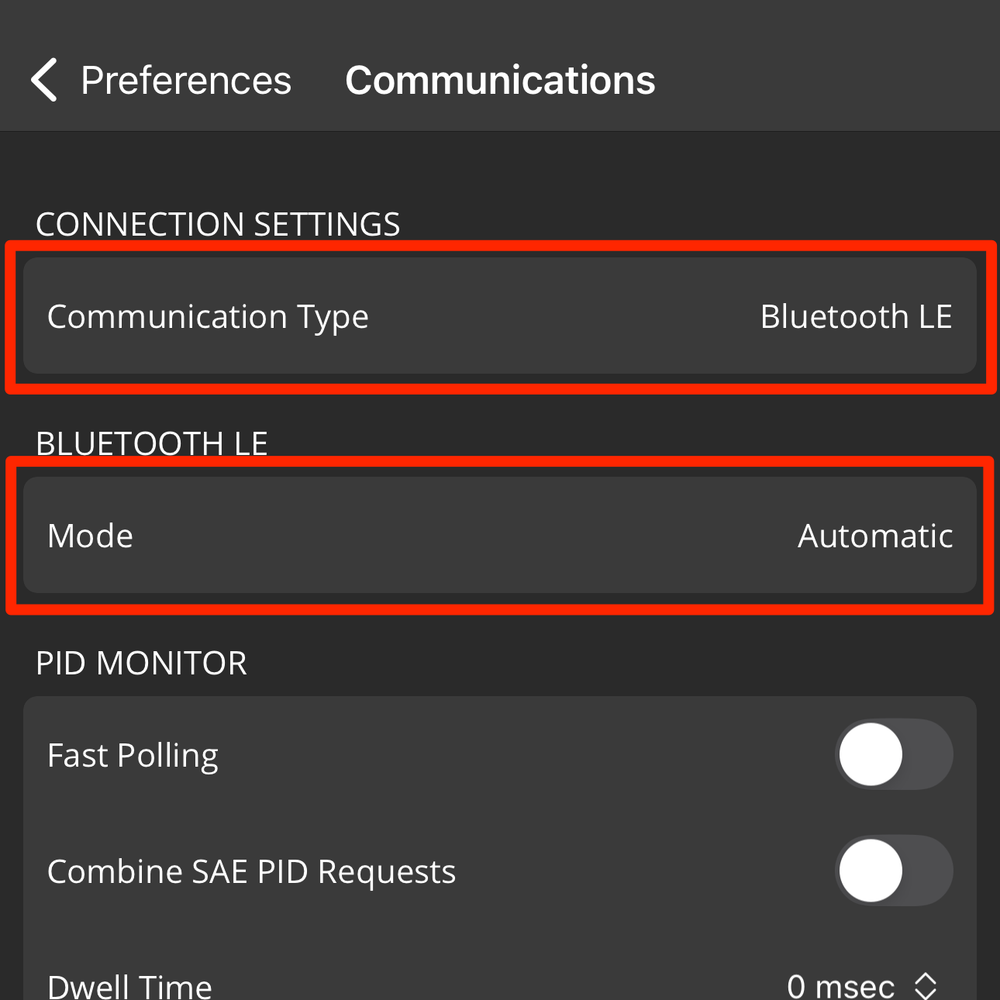
Step 10: Manually Selecting the Device
If you are not sure whether the app is connected to the VEEPEAK device, follow this path: from the home screen, go to "Settings" > "Preferences" > "Communications." On this page, if "Bluetooth LE" is selected as the "Communication Type," look for the "Bluetooth" section below. Tap on "Mode" and change it from "Automatic" to "Manual." Then, tap on "Device" and select "VEEPEAK." Return to the home screen to connect.
